What is Angular2 CLI?
Angular2 CLI is Command Line Interface introduced by Angular team, to help us develop applications in Angular 2, through automate some operations and keep consistent project structure. You may think it’s a waste of time to learn another new thing, but I encourage you to use CLI, even if you are new to Angular. It’s even more helpful in this case, because with CLI your development will be faster and easier.
Before we start make sure you have node.js installed on your machine. If not, you can download it here https://nodejs.org/en/download/. It is essential to develop Angular applications.
Let’s start
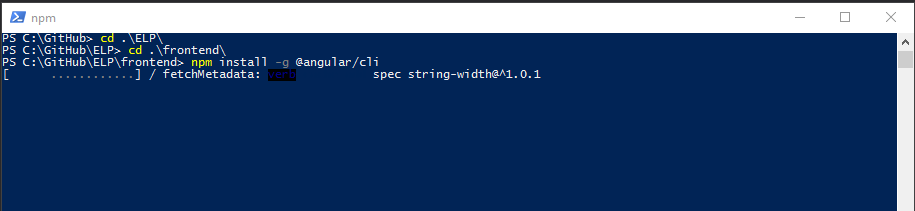
To create new Angular2 CLI project, open your command line tool. At the beginning you need to install angular CLI, to do it type:
|
1 |
npm install -g @angular/cli |
Wait for a while, take a beer or yerba mate if you prefer and come back after few minutes 😛
Then type command that will create new project, something like this:
|
1 |
ng new PROJECT_NAME |
Where PROJECT_NAME is any name for your project. As you can see you need to wait for install packages via npm, so take another beer don’t waste your time 😉
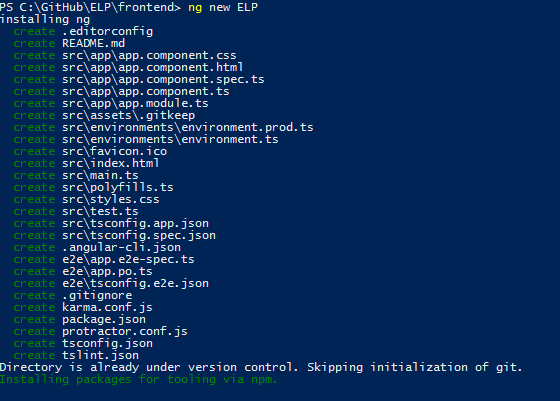
After that go to project location, dig in your project folder, type cd PROJECT_NAME. You will se new files and folders here like on image below. This is our brand new project.

And let’s do the magic. Type ng serve and you will see… an error maybe, but you should’n if everything you did before correctly. If everything works fine your console output should looks like this:

Open your browser and type http://localhost:4200 you should see:
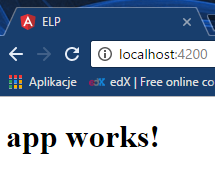
It means you have working app! Congrats ;0
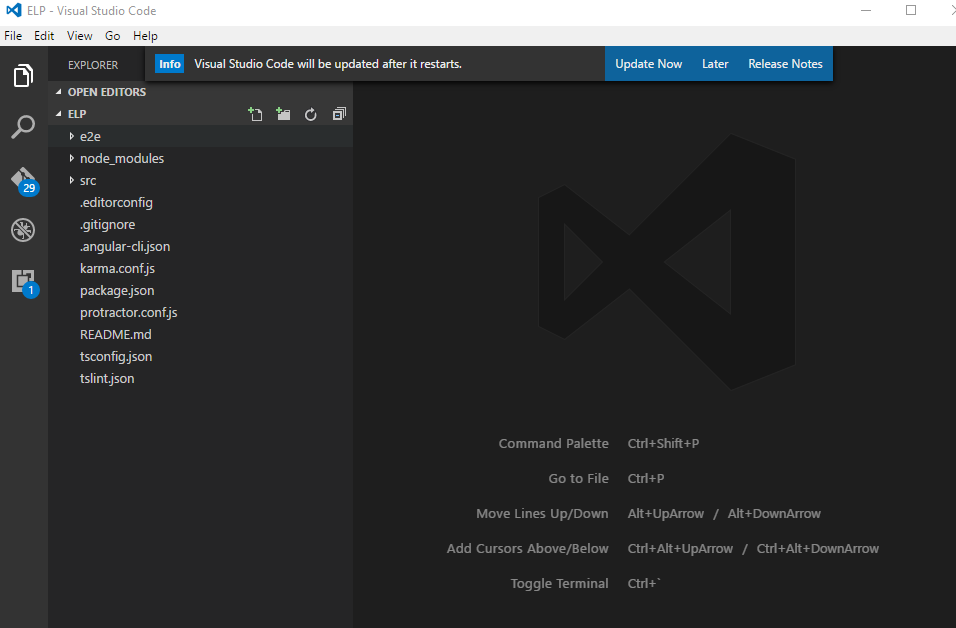
For developing our front end side of application, I recommend you Visual Studio Code Editor. You can download it here. https://code.visualstudio.com/
Open whole folder of your new application in VS Code
That’s it. Project structure and other Angular2 CLI features I will cover in the next posts.
One comment
Comments are closed.