In this post I want to show you how to create new database using Entity Framework Core – Code First migrations approach.
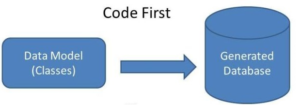
I have project ELP.Model in which I defined few entities. I want to create database from it. It is approach called Code First. This is how looks one of my entity
|
1 2 3 4 5 6 7 8 9 10 11 12 13 14 15 16 17 18 19 20 21 22 23 24 25 26 27 28 29 30 31 32 33 34 35 36 37 |
public class Event : AuditableEntity<long> { [Required] [MaxLength(100)] public string Name { get; set; } } public class AuditableEntity<T> : Entity<T>, IAuditableEntity { [ScaffoldColumn(false)] public DateTime CreatedDate { get; set; } [MaxLength(256)] [ScaffoldColumn(false)] public string CreatedBy { get; set; } [ScaffoldColumn(false)] public DateTime UpdatedDate { get; set; } [MaxLength(256)] [ScaffoldColumn(false)] public string UpdatedBy { get; set; } } public abstract class Entity<T> : BaseEntity, IEntity<T> { public virtual T Id { get; set; } } public abstract class BaseEntity { } public interface IEntity<T> { T Id { get; set; } } |
To be able to enable migration and create database, we need to create Context. My Context Class looks like this
|
1 2 3 4 5 6 7 8 9 10 11 12 13 14 15 16 17 18 19 20 21 22 23 24 25 26 27 28 29 30 31 32 33 34 35 36 37 38 39 40 41 42 43 44 45 |
public class ELPContext : DbContext, IContext { public ELPContext(DbContextOptions dbContextOptions) : base(dbContextOptions) { } public DbSet<Event> Events { get; set; } public DbSet<User> Users { get; set; } public DbSet<Role> Roles { get; set; } public DbSet<UserRole> UserRoles { get; set; } protected override void OnConfiguring(DbContextOptionsBuilder optionsBuilder) { base.OnConfiguring(optionsBuilder); } public override int SaveChanges() { var modifiedEntries = ChangeTracker.Entries() .Where(x => x.Entity is IAuditableEntity && (x.State == EntityState.Added || x.State == EntityState.Modified)); foreach (var entry in modifiedEntries) { IAuditableEntity entity = entry.Entity as IAuditableEntity; if (entity != null) { DateTime now = DateTime.UtcNow; if (entry.State == EntityState.Added) { entity.CreatedDate = now; } else { base.Entry(entity).Property(x => x.CreatedBy).IsModified = false; base.Entry(entity).Property(x => x.CreatedDate).IsModified = false; } entity.UpdatedDate = now; } } return base.SaveChanges(); } } |
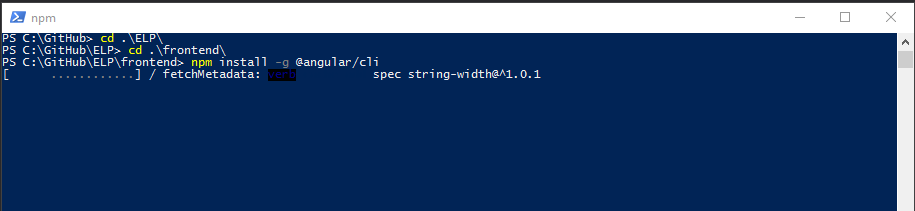
We need to install few packages before we start with actual migration.
To do it, open Package Manager Console (In VS Tools-> Nuget Package Manager -> Package Manager Console) set Default Project to your target project and install packages. Make sure to install the newest versions or the same versions for all.
|
1 2 3 4 5 |
Install-Package Microsoft.EntityFrameworkCore Install-Package Microsoft.EntityFrameworkCore.SqlServer Install-Package Microsoft.EntityFrameworkCore.Tools |
To enable migrations in our project first we need to type in the same console Add-Migration MigrationName
|
1 |
Add-Migration InitialMigration |
and here is surprise. Not so easy man. I missed something. Yes exactly, we need to add implementation of IDbContextFactory<ELPContext>

This class should look like this:
|
1 2 3 4 5 6 7 8 9 |
public class ELPContextFactory : IDbContextFactory<ELPContext> { public ELPContext Create(DbContextFactoryOptions options) { var builder = new DbContextOptionsBuilder<ELPContext>(); builder.UseSqlServer("Server=(localdb)\\mssqllocaldb;Database=ELPdb;Trusted_Connection=True;MultipleActiveResultSets=true"); return new ELPContext(builder.Options); } } |
Another Try to Add Migration and … another error…
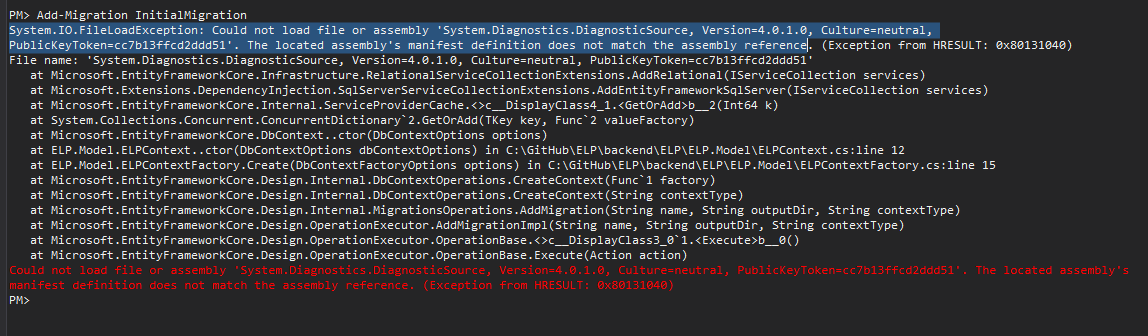
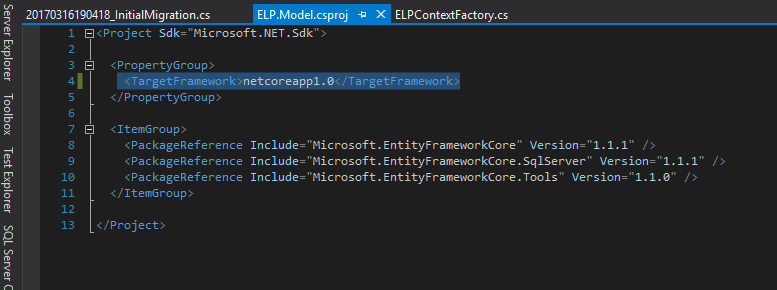
What da… !? It looks like it is an issue in EF Core v 1.1.0. Work around for it is to change version to 1.0 :/ To do it we need to modify TargetFramework in csproj file from netcoreapp1.1 to netcoreapp1.0

Another try
|
1 |
Add-Migration InitialMigration |
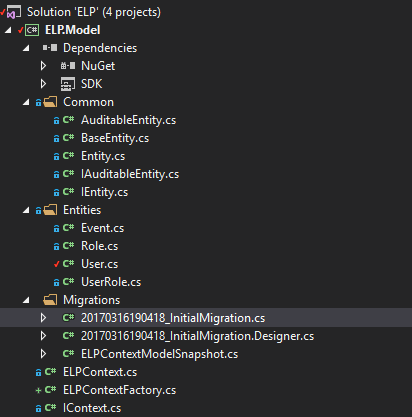
Uff now everything works fine.

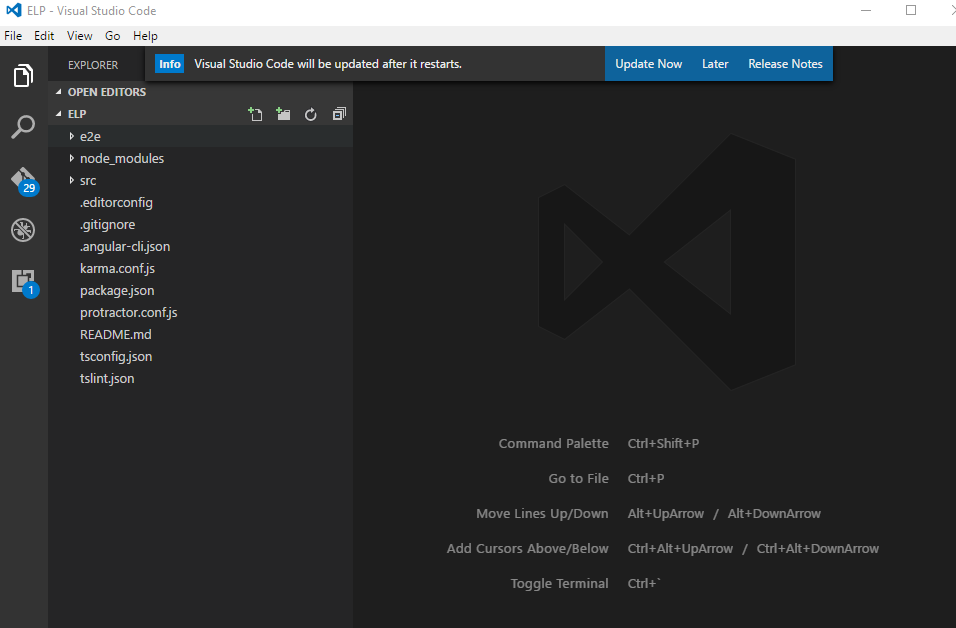
Take a look into Solution Explorer. Here we have new classes and Migrations folder.
The last step is to execute Update-Database command in Package Manager Console.
|
1 |
Update-Database |
Fortunately this time it worked for me in first try. I didn’t expect it will be so easy 😉
To verify it, open SQL Server Object Explorer and check it. It should create new database.
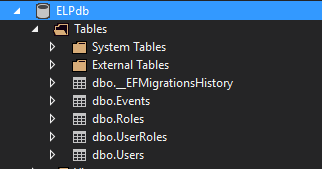
Yeah, we have created database, nice. Now we can add something to it 🙂